Wrapping Tutorials
Open Yellow Bouquet Shell with Printed Back Points
Nov
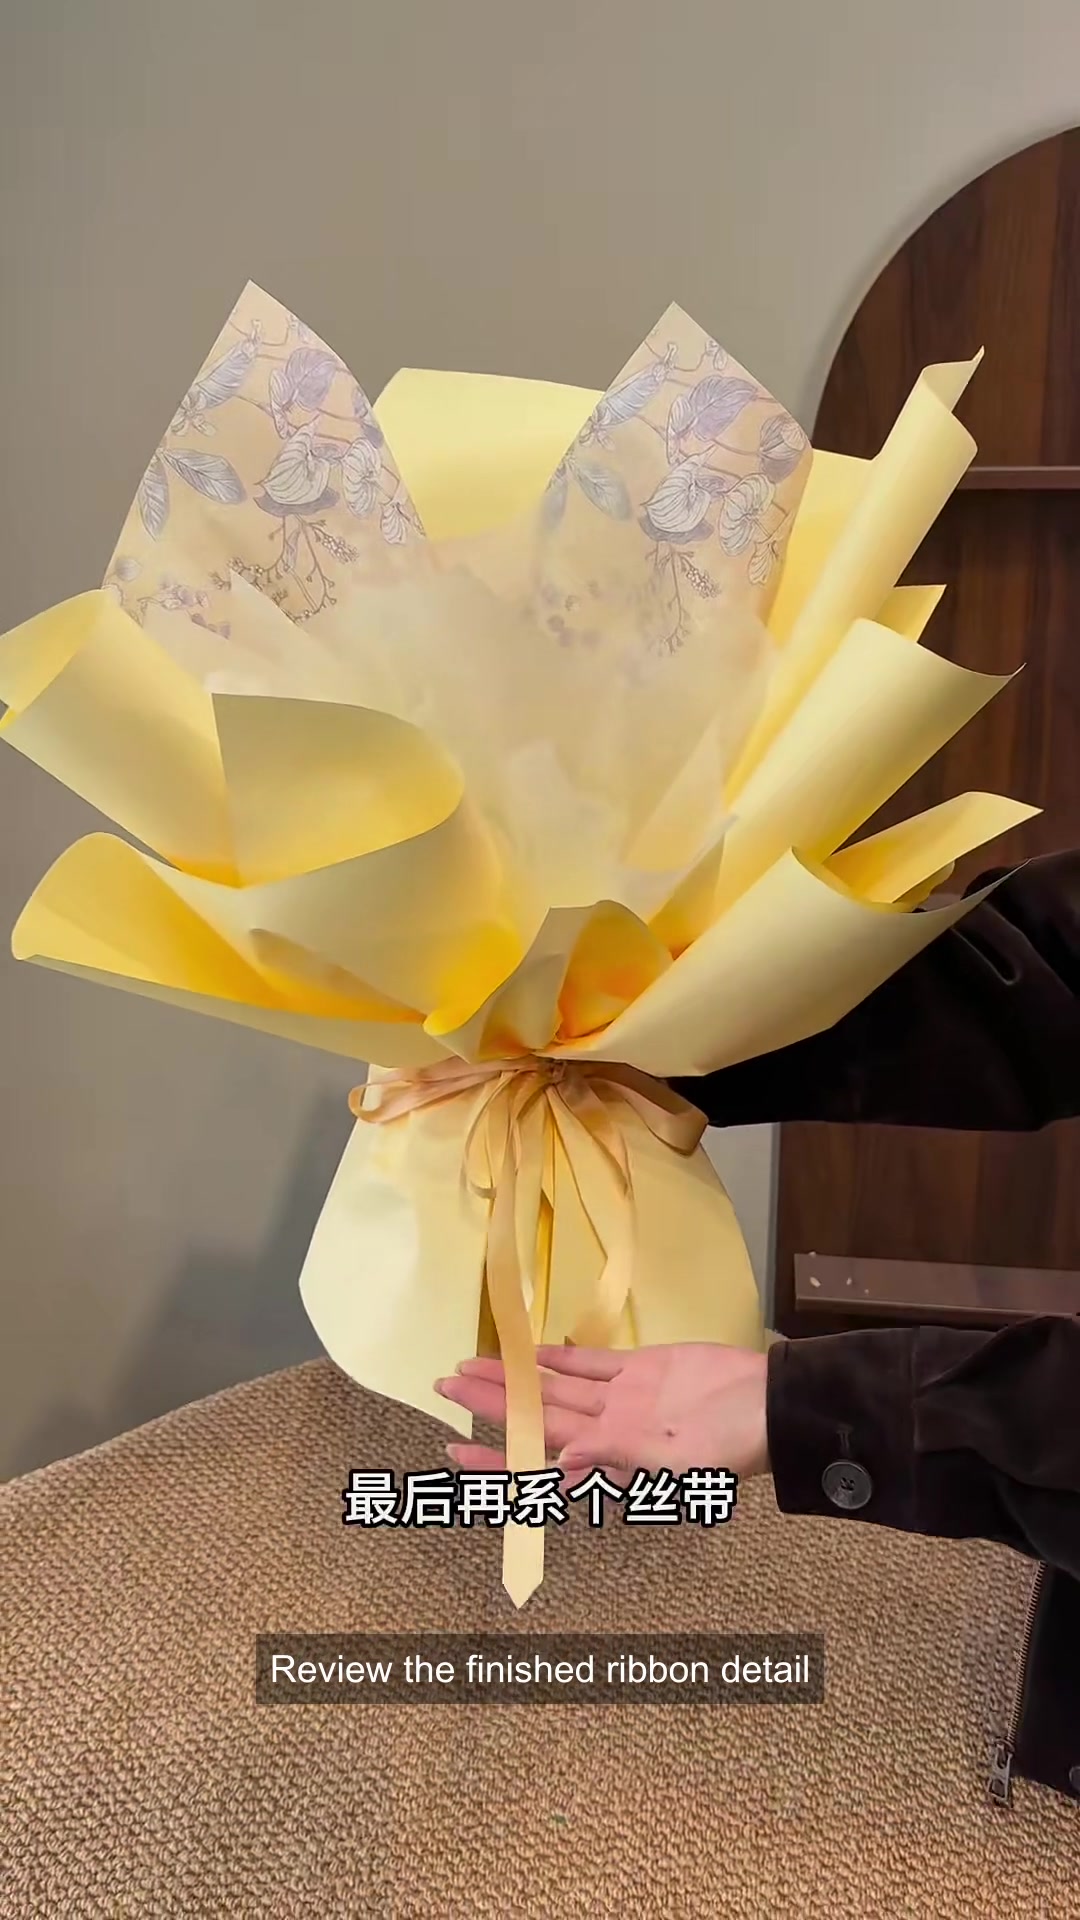
Start with an already-prepared white lining, then follow how printed back points and curved pale-yellow sheets form an open bouquet shell. The printed tips create height at the back while the lower outer panels curve around the grip.
The demonstration contains no inserted flowers. It is a lesson in the visible outer layer order, with a brief finished ribbon view; the initial white lining and a full bow-tying sequence are not made in the clip.
Watch the demonstration Request materials for this look
Watch the full demonstration
If the player is unavailable in your browser, watch the same full demonstration on YouTube. It is also available on Instagram.
Materials visible in the demonstration
- An already-prepared white inner lining
- Printed sheets for the pointed back sections
- Pale-yellow outer wrapping sheets
- A small front panel and a pale ribbon finish
Follow the visible sequence
00:00–00:02 · Compare the open shell
Use the opening view to compare the high printed points with the lower yellow curves. This is the empty shell outline, not a completed flower arrangement.
00:02–00:08 · Fold the printed back points
The printed sheets are folded into pointed upper sections. Follow the visible folds and the way the print faces outward; the clip gives no measured cutting template or fixed sheet count.
00:08–00:18 · Place the print behind the white lining
The pointed printed sections go behind the white inner lining, which is already in place. Compare how much of the print remains visible above the white edge before following the next outer layer.
00:18–00:26 · Curve the pale-yellow back layer
A pale-yellow layer is placed at the back and its edge curves away from the lining. Its position links the tall printed tips to the lower outer silhouette.
00:26–00:40 · Add the angled side layers
Angled side pieces build out the shell around the lining. Watch their visible overlaps and relative heights, rather than assuming that the sheet dimensions can be read from the video.
00:40–00:50 · Trim and curve the outer panels
The outer panels are trimmed and curved as the outline develops. The useful reference is the changing contour and overlap; the footage does not supply a standard cutting size.
00:50–00:58 · Gather the small front piece
A smaller front piece is gathered toward the grip. It sits below the taller back sections and closes the lower front visually without covering the open top.
00:58–01:04 · Balance the outer curves
Compare the outer curves at the sides with the small gathered front. The final shell view makes their relationship clear while keeping the printed points visible at the back.
01:04–01:08 · Review the ribbon finish
The final view shows ribbon at the grip. Treat this as a finished detail: the short ending does not demonstrate every movement needed to tie the bow.
Request materials for this look
For this look, ask about printed wrapping sheets for pointed back sections, pale-yellow outer sheets, white lining options and pale ribbon. The exact products in the demonstration have not been matched to FAFAFLOWER SKUs.
- Printed and plain sheets: composition, finish, thickness and sheet or roll dimensions.
- White lining and pale-yellow shade options: ask for samples to compare the visible colour and layering.
- Ribbon: width, available colours and selling units.
- For every item, confirm selling units, pack quantities and sample availability for your required quantity and destination.
Reference: 2026-10-27-001. Please advise printed back-point sheets, pale-yellow outer wrapping, white lining and pale ribbon options for [quantity], delivered to [destination]. Please include composition, dimensions, ribbon width, selling units, pack quantities and samples. We are requesting options for this look, not asserting an exact product match.
Ask for composition, dimensions and samples before selecting materials for your own setup. The demonstration does not establish stock, product equivalence or material-performance guarantees.
