Wrapping Tutorials
How to Make an Angled Burgundy Bouquet Shell
Nov
Build an angled bouquet shell by setting a pale dotted lining against tall burgundy panels, then covering the lower grip with smaller pieces. The demonstration works around a support rather than inserting flowers, so you can follow the paper-layer order without treating it as a flower-arranging or hydration lesson.
Watch how the high side and lower front balance each other before trimming the grip. Exact sheet dimensions and a reliable total sheet count are not supplied; compare each piece with your own form before cutting.
Watch the demonstration Request materials for this look
Watch the layer order
If the player is unavailable in your browser, watch the same demonstration on YouTube. It is also available on Instagram.
What to have beside you
- Pale lining paper with a dotted layer for contrast
- Burgundy paper for the tall side, lower front and grip-cover pieces
- Finishing ribbon and suitable cutting and fastening tools
- A support or practice form around which to compare the paper shape
The support is part of this demonstration. The clip does not show flowers being inserted or establish a finished bouquet’s internal support, transport protection or water supply.
Follow the nine stages
00:00–00:04 · Compare the finished outlines
Look at the high angled side and the lower opening. The opening and final colour examples show alternative finishes; they are not separate complete assembly lessons.
00:04–00:14 · Gather the pale inner lining
The maker gathers the pale inner layer around an existing wrapped support. Keep track of this inner shape as the darker outer panels are added; the support is not a bouquet of flowers.
00:14–00:30 · Align and trim the angled panels
Burgundy and pale dotted sheets overlap at an angle. Watch where the cuts sit in relation to the intended grip. Check the outline against your own form rather than copying an assumed sheet size or fixed cutting angle.
00:30–00:42 · Set the dotted layer and tall side
The pale dotted side goes on before the tall burgundy side or back panel. Compare their exposed edges: the light pattern remains visible against the darker outer outline.
00:42–00:54 · Shape the lower front
Another burgundy piece forms the lower front of the shell. Compare its height with the tall side before fastening. The useful reference here is the visible overlap, not a verified overall sheet count.
00:54–01:12 · Prepare the smaller cover pieces
Smaller pieces are prepared to cover the lower grip. Follow the back-before-front order while keeping the upper opening clear. Some fastening is obscured, so the footage does not provide a complete fastening specification.
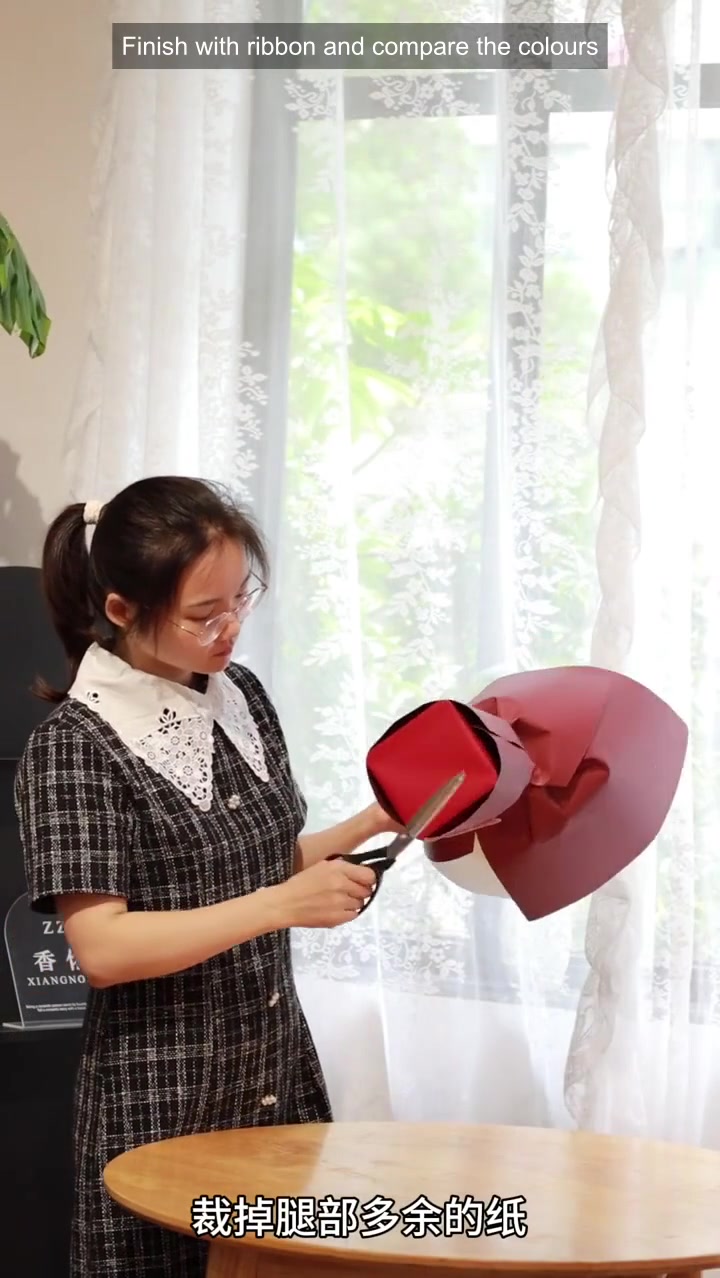
01:12–01:24 · Cover the grip and trim excess
Watch how the lower pieces meet around the grip and how surplus paper is trimmed. Compare the front and back before taking away more paper; no measured trim line is supplied.
01:24–01:38 · Follow the ribbon finish and colour comparison
The sequence moves into the finishing ribbon and other colour examples. Use this section to study how the lower finish relates to the shell. It does not establish that every colour example uses the same material or identical assembly.
01:38–01:45 · Review the empty shell
Compare the held shell with the opening view: a tall burgundy side, lighter exposed lining and a covered lower grip. Check those relationships before adapting the design for an actual flower arrangement.
Request materials for this look
The exact paper and ribbon SKUs in the video have not been identified. To compare available options, send the reference below with a material enquiry for this shell. The enquiry form has a message field; copy the reference into it.
Reference: 2026-10-26-009 — angled burgundy bouquet shell.
Please suggest burgundy paper for the tall side, lower front and grip covers; pale dotted lining; and a coordinating finishing ribbon. Please confirm each option’s composition, sheet dimensions or ribbon width, selling unit, pack quantity and suitability for the proposed use. I need [quantity] for [destination], in [preferred colours]. Reference video: https://www.youtube.com/shorts/qLZMhDSyzXc
Attach your preferred colour reference and explain whether you are making an empty display shell or packaging flowers. Confirm the sample, selected options, price, availability and freight through the quotation; this guide does not promise an exact match, water resistance or stock.
Floral demonstration shared with permission. Original creator account has not been verified from the supplied file; original lettering is retained. Written guide by FAFAFLOWER.
Music: “Paper Wings” by Jason Shaw / Audionautix, CC BY 4.0. Changes: excerpt, fades and level adjustment.
