Wrapping Tutorials
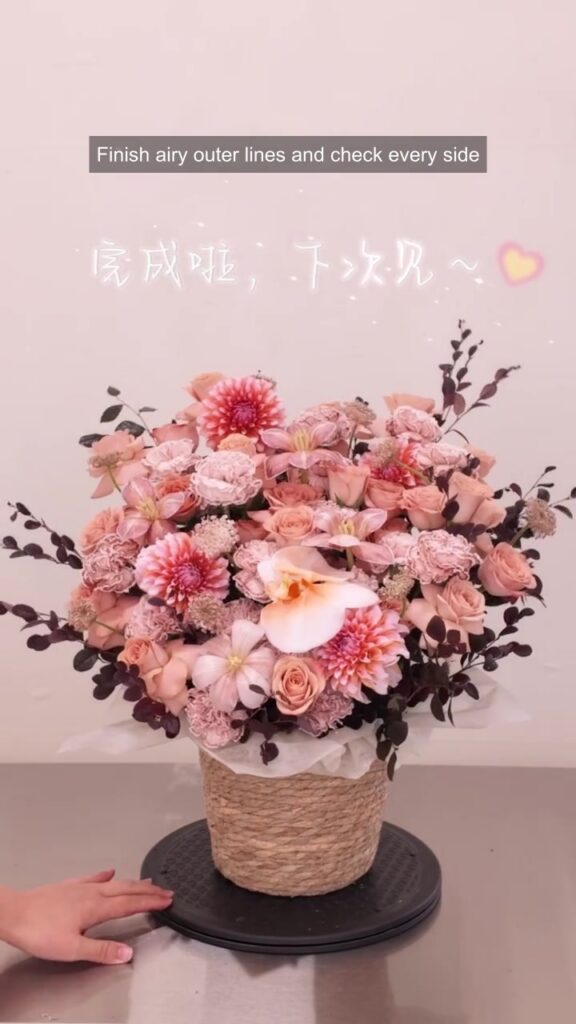
Pink Flower Basket Tutorial: Layered Blooms and a Branching Outline
Oct
Last updated:
This pink flower basket tutorial follows a 140-second demonstration from a prepared lined container to a rounded floral arrangement. Dark leafy branches establish the outline before the pink flowers fill the center. Watch the placement order and changing angles, then pause at the stages below to compare height, depth and stem direction.
Materials shown in the demonstration
- A woven-look cylindrical basket or container, already lined in the demonstration.
- An appropriate floral support; a green insert is visible but its preparation is not shown.
- Dark branching foliage, round pink focal blooms, branching pink flowers and smaller clusters.
- Pale open-faced accents, fine outer stems and suitable cutting tools.
- A turning surface to check the arrangement from different angles.
Follow the visible steps
- 00:00–00:16 — Review the prepared base and stems The opening presents the lined basket, green support and selected stems. The lining sits above the rim as a light border. Container preparation, flower conditioning and water handling are not demonstrated; resolve those separately for the materials you use.
- 00:16–00:40 — Establish the leafy frame Insert dark branching foliage to set the taller side lines, then add lower clusters around the center. Turn the basket so the frame has depth. Low material conceals the support without requiring every upper gap to be filled.
- 00:40–00:50 — Set the focal heights Place bright round pink blooms at varied heights within the foliage. They give the next layers clear points to connect. Check the outline before adding more stems; do not derive measured lengths or a fixed stem count from the condensed sequence.
- 00:50–01:18 — Build the middle layers Open pink faces and branching flowers appear between and around the focal blooms. Keep some dark foliage visible to separate the lighter faces. Turning the base and placing stems toward more than one side avoids a flat row.
- 01:18–01:50 — Fill spaces and add front accents Smaller pink clusters connect gaps in the flower mass. Larger pale open-faced accents then appear near the front. Small clusters connect layers; broader pale faces create visual pauses against the denser pink areas.
- 01:50–02:20 — Check the outline and finish Check lower and middle sections as the basket turns. Fine stems and buds add lighter outer lines near the end. The final handheld rotation shows different directions; compare those views before making further additions.
Adapt the structure to your basket
Choose the lining, support and any water barrier for the actual vessel and flowers. The decorative lining does not establish waterproof performance. A wider basket may need a broader lower frame; a taller container changes the relationship between rim and focal blooms. Check stability and transport requirements separately rather than treating a handheld display as a strength test.
Keep the pink layers readable
The contrast comes from dark small leaves, rounded focal heads, softer branching clusters and broad pale accents. Repeating pink at several heights connects the arrangement, while leaving some dark foliage visible preserves depth. Exact flower varieties, quantities, basket composition, support specifications and product availability are not verified from this clip.
The Instagram tutorial
Watch the same demonstration on FAFAFLOWER’s Instagram.
Compare another floral outline
Compare the focal heights and lower flower mass in our red cylinder flower arrangement tutorial.
Original tutorial by 杪夏 Flower on Xiaohongshu, shared with permission. Original design and footage remain credited to the creator; FAFAFLOWER added the English visual steps. These written notes describe the visible process and are not a verbatim audio transcript.
